Connecting a mic to a computer, laptop or iPad depends on the connector given in the device. Generally, three types of connectors are used to connect a mic with the computer.
- 1/8″ phono input – Common mic input in all computers except iPad.
- USB connection – Also common in all devices, including iPad
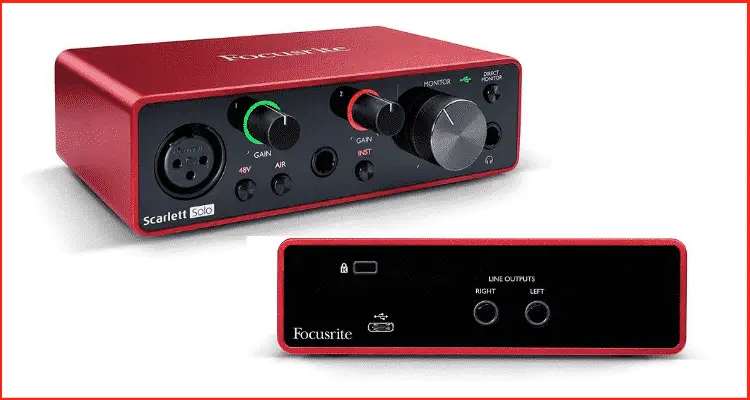
- 1/4″ Phono input – Used in professional audio interfaces
In this article, you will learn how to connect a mic to a computer, Mac, or iPad with the above types of connections.
First off,
How to Connect Mic to Windows PC and Laptop
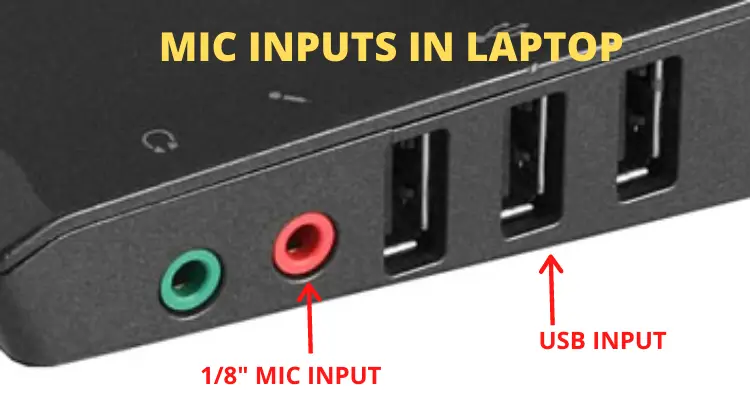
First, let us learn about the 1/8″ microphone connector, which is a very common mic input connector in all computers.
1/8″ or 3.5mm microphone connector
In Windows PC and laptops, 1/8″ phono input and USB connections are very common and come with almost all Windows devices.
1/8″ phono input is generally located behind the Windows computer. In the case of a laptop, you will find it left or right side of it.
The mic you are going to connect with the PC or Laptop via 1/8″ input should have the same jack, otherwise you can’t connect your mic to the computer.
Most of the mics come with a 1/4″ jack, so if your mic has the same, then you can buy a 1/4″ to 1/8″ adaptor. You can use this adaptor to connect your 1/4″ mic jack to your existing 1/8″ computer or laptop mic input.
Disclosure: This post may contain affiliate links, which means we may receive a commission if you click a link and purchase something that we recommended. Read more about Affiliate disclosure here.
If you want to buy this adaptor, then you can check out this link by Amazon.
When you connect your mic to the laptop/computer, it will automatically detect the input. Click on the ok button on the dialog box that appeared above the taskbar, and it will be done. If it’s not detected not, then your sound card driver is not installed.
Install the sound card driver from the motherboard CD or website, and the computer should automatically detect the input.
What if the mic isn’t detected automatically?
If installing the computer would not automatically detect the input, you have to configure it manually.
To do this, follow the below steps.
Press the Windows Key on the keyboard, type Control Panel in the Windows search bar, then press the enter button.
Or, you can open the Windows 10 Start menu and choose Windows System > Control Panel.
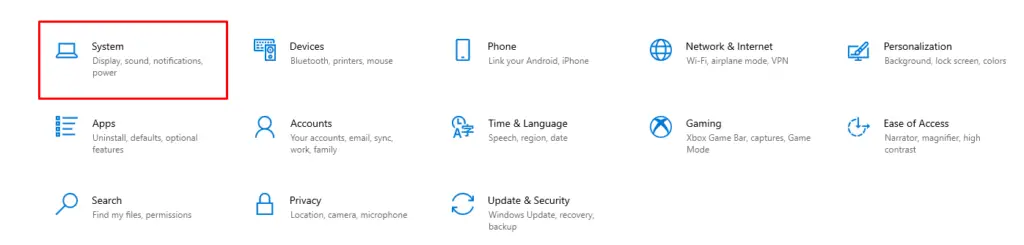
In the Control Panel, click System feature.
Click on the Sound option in the left side menu.
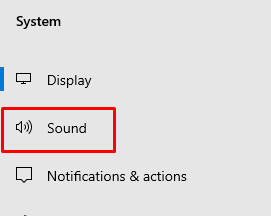
Click on the Sound Control Panel.
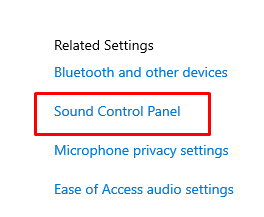
The sound setting panel will open.
At the top of the window, click the Recording tab. If you have an internal or external microphone, it will be displayed there.
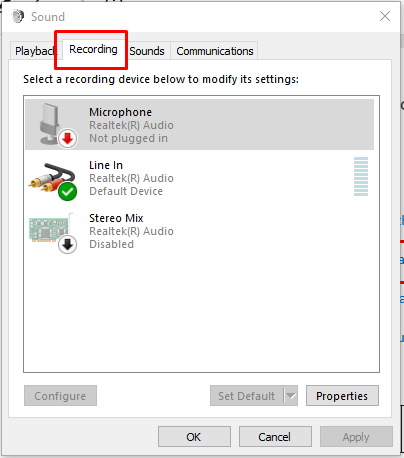
If your mic is connected, then it will be shown as connected in this panel. By selecting the device and clicking on the properties option given below, you can configure it manually.
That’s how you can connect a mic to a computer via 3.5 mm or 1/8″ input.
USB Microphone
Now we will learn how to connect a USB microphone with a Windows PC or laptop via USB input.
USB inputs are very common in Windows computers. Let us see the above computer inputs image once again.
I have pointed out the USB inputs in the image. You need a digital USB mic to connect through USB on your computer. USB mics are very common these days. You can check out my article on the best USB mics for Youtubers and Podcasters.
When you connect the USB mic with the USB input on your computer, it should automatically install the required hardware and then automatically detect the Mic.
If not, first check if the computer has detected the Mic? To check this out, you can follow the same steps given in the above section (What if the Mic isn’t detected automatically?)
If it’s even not showing in the recording device panel, then you have to install the driver manually. USB mics that are not plug and play come with the driver installation CD. You can install the driver from the CD.
If the CD is not provided with the Mic, then you should search for the same online. The driver should be given on the official website of the Mic.
Download and install the driver, and that’s it. You will now see the Mic in the recording panel. Now you can configure the Mic from there.
How to Connect Mic to Mac Computer or Laptop
Connecting Mic to Mac computer and laptops are the same. Follow the below steps to connect Mic with Mac PC or Laptop.
Connect the Mic with the 1/8″ or 3.5 mm input in Mac
First, connect the Mic with the 1/8″ or 3.5 mm input given below the left/right side of the Mac PC or laptop.
It should automatically detect the Mic. If yes, then click on okay, and it’s done. If it’s not, then follow the below steps to configure the Mic manually.
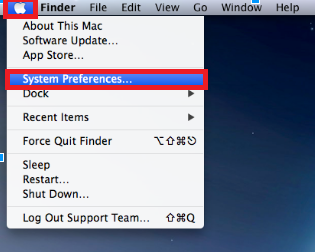
Click on your Apple menu located on the top-left corner and select System Preferences.
Double-click on the Sound icon.
Click on the Input option to see your microphone list.
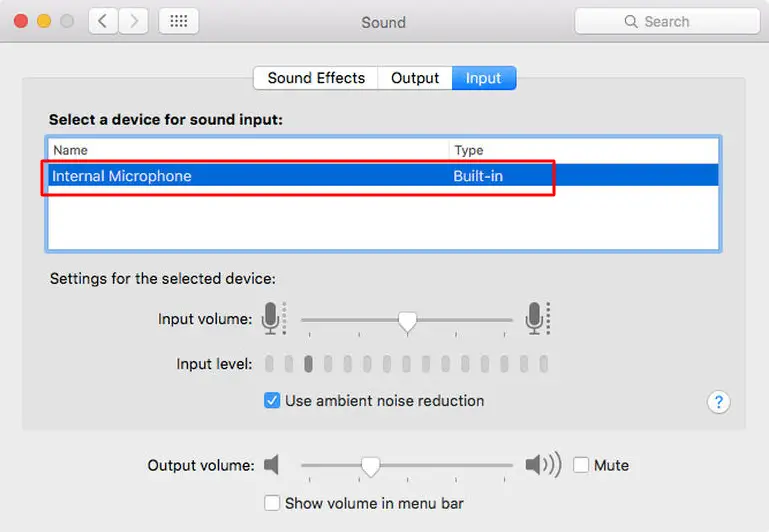
In this tab, you can select and configure all the connected mics.
Connect A USB Mic with Mac PC, Laptop, or iPad
Connect the USB mic with the USB inputs given in your Mac computer, laptop, or iPad. It should automatically install the driver and then be detected by the computer.
If not, then follow the same process that I have shared above. You should see your mic in the microphones list there.
If even the microphone is not located, then you should install the microphone driver manually. You can find the driver in the CD given with the mic or from the mic manufacturer’s website.
Install the driver and then connect the mic again. You will see the computer will automatically detect the mic now. Now you can configure the mic from the mic tab in the sound preferences setting menu.
How to Connect Mic with Computer Through Professional Audio Interface
If you are a music producer, musician, video maker, podcaster, etc., then you should have a professional audio interface to play and record audio on your PC or laptop.
Professional audio interfaces are ASIO(Audio Stream Input/Output) audio interfaces that run through the ASIO driver comes with the audio interface.
If you want to use DAW(Digital audio workstation), you must have anan ASIO audio interface. Almost every DAW supports ASIO audio interfaces.
The best thing about ASIO audio interfaces is that they can record high-definition audio up to 192kHz/24Bit. Inbuilt computer audio interfaces do not support that high-quality audio recording.
That’s why you should have a professional audio interface to record your microphone.
So, how will you record your microphone with professional audio interfaces?
- First of all, you need to install the ASIO driver that comes with the audio interface or download it from the manufacturer’s website.
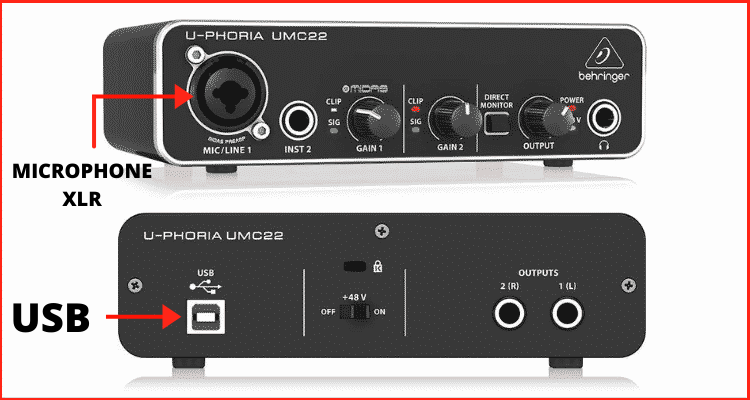
- Now, connect the audio interface via the given connector. Generally, all mid-range professional audio interfaces come with a USB audio input/output connection.
- When the computer detects an installed the hardware, you can connect your mic through the XLR cable to the pre-amp given in the audio interface.
- Now open the DAW(digital audio workstation), open an audio track and arm for the record, route the mic input to the track and start recording.
- It needs some technical knowledge about the DAW to record the microphone because the functions of all the DAWs are different.
Best Mics For PC, Mac and iPad
All the mics available in the market claim to be the best mic for computers, Mac, and iPad. However, not all are the same. If you buy the wrong mic, then you would not get sound recordings.
That’s why you need some basic knowledge about choosing a microphone.
Here are my best resources on choosing a microphone that will help you in that.


![5 Ways to Miking Toms [Correctly]](https://www.recordingbase.com/wp-content/uploads/2021/10/micing-toms-correct-methods.png)