In this guide, you will read about how to remove resonant frequencies from audio by Equalizer Sweeping method.
The whole audio mixing is based on shaping up audio frequencies and making them more pleasant to listen to.
EQ Sweeping is an important part of frequency shaping.
In EQ Sweeping we clean up the audio.
In this process, we identify and remove resonant frequencies as well as humming and other unpleasant frequencies to clean up the audio and make it listener-friendly.
Read this tutorial carefully as it is going to be a very useful guide for you.
Now come to the point…
Do you know, I apply EQ sweeping process in all of my projects and get great results. Even each and every pro mixing engineer uses this process to clean up their tracks and transform them into a great mixed track.
Disclosure: This post may contain affiliate links, which means we may receive a commission if you click a link and purchase something that we recommended. Read more about Affiliate disclosure here.
Let me show you each and every detail of EQ Sweeping and resonant frequencies. As well as the exact process of cleaning up your tracks.
Read also,
- My Mixing and Mastering Tips For Streaming in 2024
- What is Summing in Audio Mixing and Why Should You Know About it
Table of Contents
What is EQ Sweeping?
I don’t know if you’ve listened to the term “EQ sweeping” ever before or not but it’s a very important process if you want great mixing.
From the name you can imagine that it is a cleaning process.
In equalizer sweeping, the mix engineer has to identify the annoying frequencies in the frequency spectrum and remove them with the help of dynamic equalizers.
Dynamic equalizers such as Fabfilter Pro-Q and iZotope Neutron 3 are great tools for this cleaning process.
What is Resonant Frequency and How to Identify It?
I know, after reading the title of this article you are eager to know what is resonant frequencies, how you can identify them, and how to how remove resonances from vocals and other tracks?
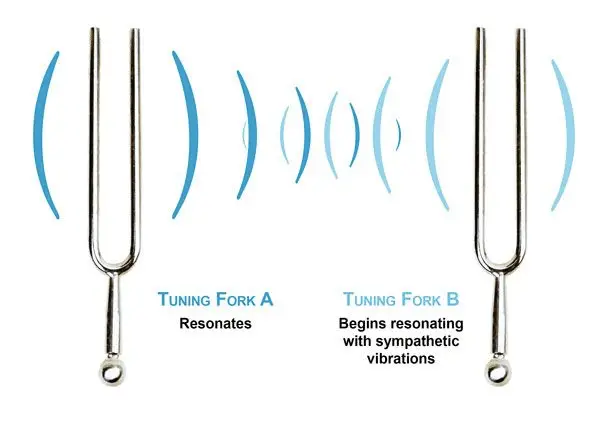
Well, 1st of all you should know the definition of Resonance.
What is Resonance?
Here is the definition of resonance from physics – resonance is a phenomenon that occurs when a given system is driven by another vibrating system or external force to oscillate with higher amplitude at a specific preferential frequency.
In the frequency spectrum, there are many frequency ranges where resonant frequencies occur.
Because of the resonance, in those particular ranges, the sound source oscillates with higher amplitude. As a result, you get more volume at these points.
Do you know, due to these resonant frequencies you lose the dynamics of the overall audio track?
The reason is simple – As by nature (oscillate with higher amplitude), resonant frequencies are already amplified than other frequencies.
When you amplify the overall sound in mixing/mastering, these frequencies possess the upper volume level and the whole audio goes behind these frequencies.
How to Identify Resonant Frequencies?
However, it’s not so hard to find out these annoying frequencies in the audio spectrum.
With the right tools, you can easily identify resonant frequencies.
As I have told above, the most important tool is a full-featured dynamic equalizer such as Fabfilter Pro-Q.
Resonant frequencies are also called ringing frequencies as the sound occurs due to these frequencies being bell-type sounds.
When you apply the equalizing process that I will show you later in this article, you will clearly hear these ringing frequencies.
Watch this video about resonant frequencies
Why We should Remove Resonant Frequencies?
Resonant frequencies generate annoying tones which possess the overall dynamics of the audio and make lower your track quality.
Also, you can’t increase the gain of the track in mastering to conquer the loudness war.
Removing these annoying stuff from your track makes it more clear for the mastering process as well as pleasant to listen.
Does It Affect on Audio Quality?
Doing it wrong can harm your audio track severely.
However, removing resonant frequencies is a good practice for mixing engineers, overdoing it or doing it in the wrong way can harm your track severely.
If you totally remove these frequencies from the track or remove some other frequencies from the spectrum, the chance is you will get a low-quality audio track. So, don’t overdo it.
Also, go with the right process to get the best results.
Frequently listen to the audio when lowering down the resonant frequency and stop where you get it right. Sounds tough?
Don’t worry, with proper ear training, time, and experience you will get this skill.
Here I recommend an ear training course (TrainYouEars). It’s paid course but very effective and every newbie must do this course. You can click here to Know more about TrainYourEars Course.
The Process: Removing Resonant Frequencies
Step 1
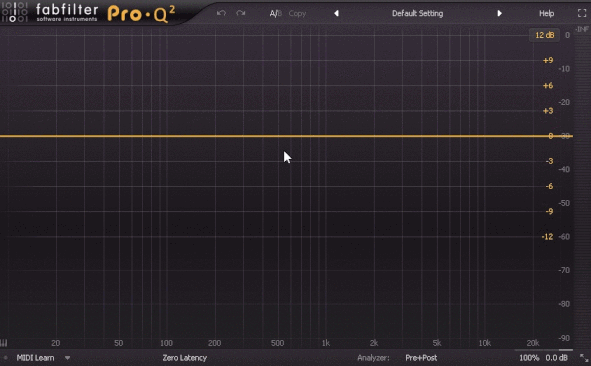
Open the project and select the track which has to be cleared. Now apply the dynamic equalizer on the track and open the equalizer window.
Step 2
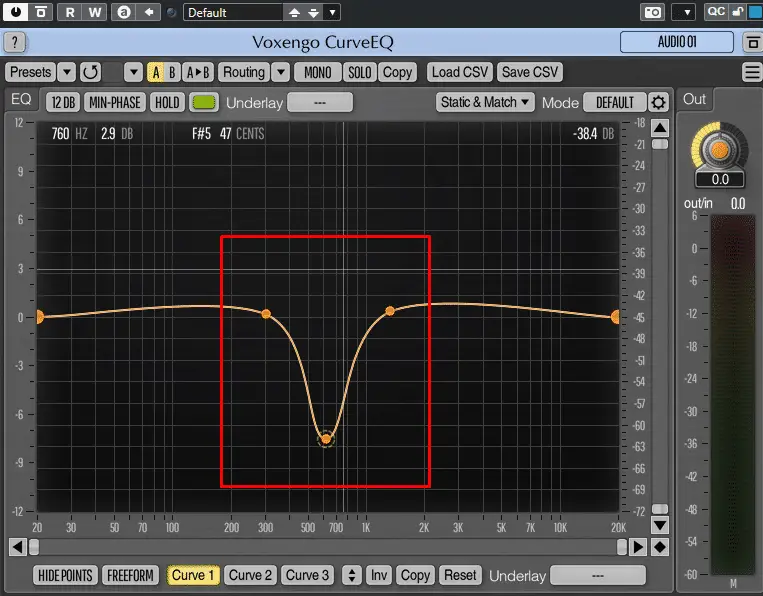
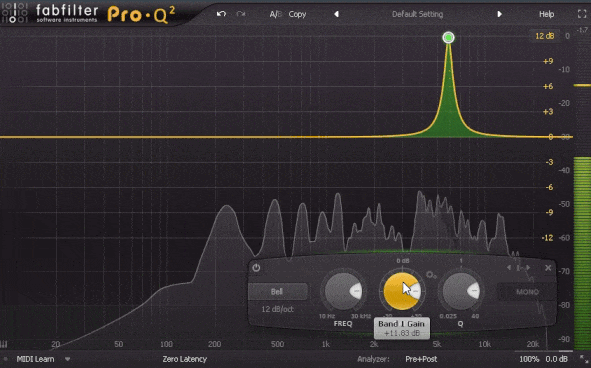
Select a band in the equalizer and just as shown in the image below drag it at least 10dB up.
As well as set the Q at least above 8. Setting up the Q higher is important as it will narrow down the band and save other frequencies to remove.
If you set up the Q lower, the band will be wide open to impact other frequencies too along with the resonant frequency.
Step 3
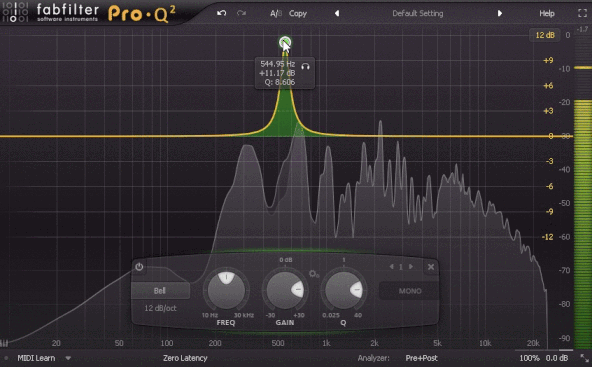
Now play the music and slowly drag it from the lower frequency range to the higher range. The image shown below can help you with that.
Step 4
As you would be dragging the amplified band in the spectrum, at certain points you would listen to those ringing frequencies.
These frequencies are annoying to listen to and can be easily recognized.
Last Step
When you will recognize the resonant frequency, stick your band on that point, and lower the gain of the band while you are listening to the music.
-3dB to – 6dB is good but always trust your ears as in audio recording, ears are much more important than any data.
Note: Don’t lower the gain very much as it can impact the quality of sound. Just lower it down as low as you can listen to a pleasant sound. That’s it.
In the frequency spectrum, there can be many resonant frequencies so repeat the above steps by selecting other bands too.
However there can be many resonant frequencies in the spectrum, we can divide them into two main categories.
- LF Hum
- HF Notch
Low-Frequency Resonance: Hum
When you play at the lower range with the equalizer bands, at some points you can listen to the annoying humming sound.
These sounds occur due to the resonance at the lower frequencies. You must clean out these frequencies to make your track better.
These humming sounds are the most common reason for the “lack of loudness” in your track.
Whenever you increase the gain, these humming frequencies take over the upper dynamics of the track and prevent you to increase the gain.
Cleaning out the humming frequencies can help you to get better loudness.
High-Frequency Resonance: Notch
The second one s Notch frequencies.
You can find them at a higher frequency range somewhere from 10kHz to 15kHz. As from the name, notch frequencies play above your track’s volume and make some irritating feeling when you listen to the track.
There are some other frequency ranges in the middle of the spectrum but they are not as important as Hum and Notch.
We have to focus on these two types of resonant frequencies as they impact most on the listener’s ear.
Remove Unwanted Frequencies From Individual Tracks
There are 2 ways we can go to approach this process.
- EQ sweeping for individual tracks
- EQ sweeping for Master track
Sweeping out resonant frequencies from the individual track is more time-consuming than the second one but it is good to have this approach.
As individual tracks only have individual instruments, finding out these annoying frequencies in individual tracks is easier than in master tracks.
I recommend this approach as finding and solving a problem at the root is best.
Remove Unwanted Frequencies From Master Output Channel
However, you can take the second approach if you have no time or don’t do the whole project (only a wave for mastering).
Mastering engineers clean out the resonant frequencies from the master track as they don’t have access to the project.
You can use it on the master channel of your project too. But keep in mind finding and solving a problem at the root is best.
Recommended Equalizers For Removing Unwanted Frequencies
There are several dynamic equalizers you can use to remove resonant frequencies, though I use Fabfilter Pro-Q which has several features to help you in EQ sweeping.
As well as you can use Fabfilter Pro-Q for other mixing work too.
Here are some of the best equalizers that you can use for this process.
Fabfilter Pro Q
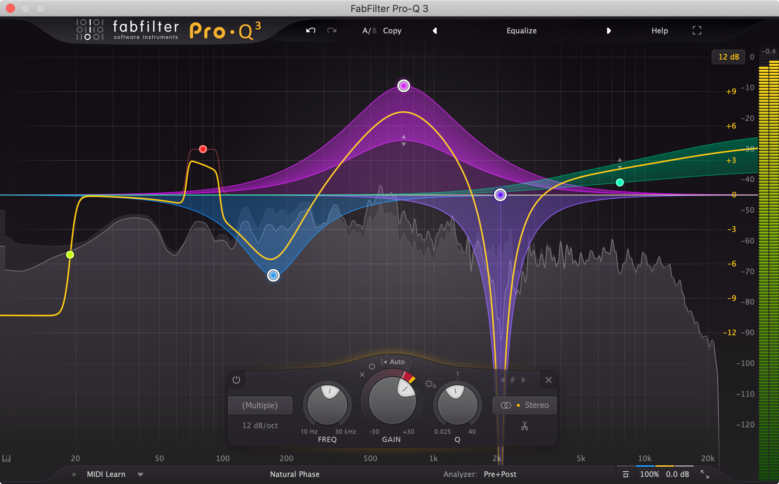
The 1st one is my favorite which I use in my mix. Fabfilter Pro Q. It is one of the best dynamic equalizers in the world.
It is one of the best resonance remover plugins you should try.
If you want to know more about this equalizer, refer to my article FabFilter Pro Q3: Amazing EQ Plugin With Dynamic EQ, Solo Mode
SurferEQ 2 by Sound Radix
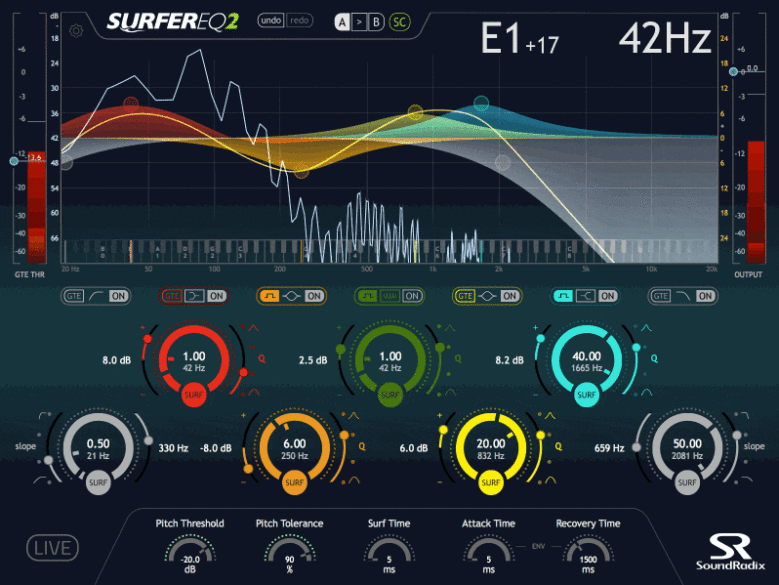
SurferEQ 2 is not only useful in EQ sweeping but also is very effective in shaping vocals and instruments.
It has a real-time pitch detection mode that can help you in shaping your vocals and instruments.
Its bell-shaped filter is a useful tool for removing resonant frequencies.
Neutron 2 by iZotope
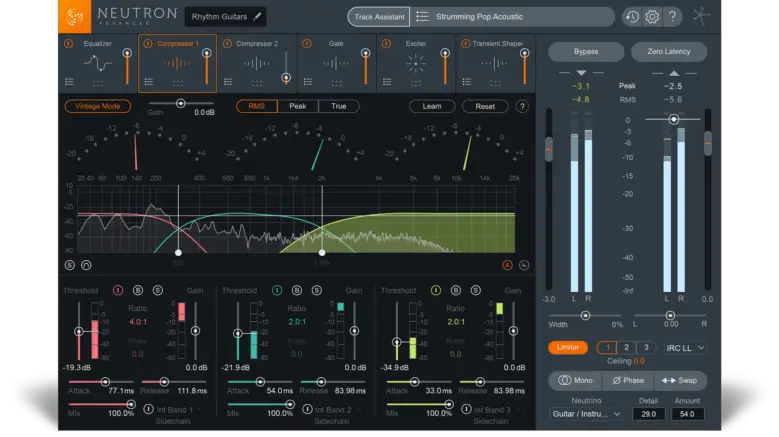
iZotope is known for one of the best mastering suites iZotope Ozone. However, iZotope has a wide range of individual plugins including Neutron 2.
iZotope Neutron 2 is a feature-rich mastering dynamic equalizer.
With all the features for shaping your master channel, it has the ability to clean out the resonant frequencies with just a few clicks.
NOVA by Tokyo Dawn Records (Free Alternative)
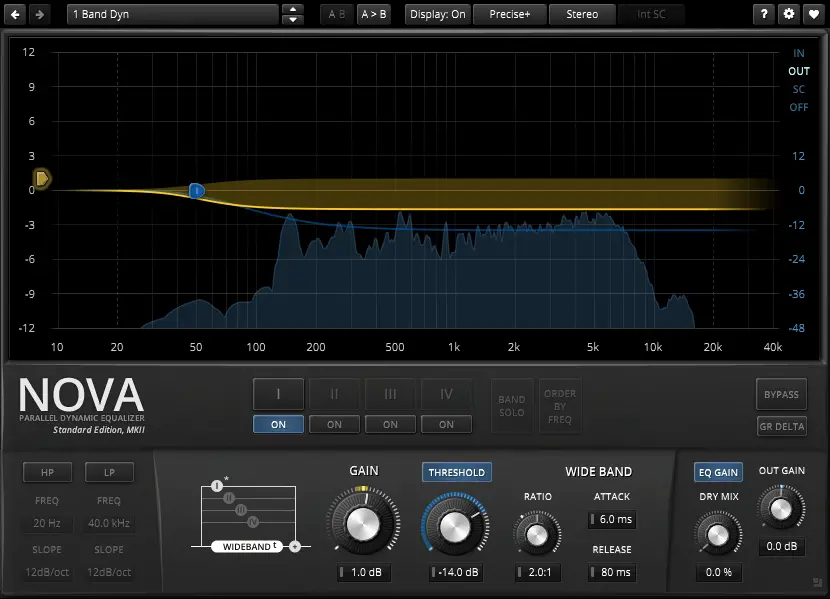
Tokyo Dawn Records has a free dynamic equalizer plugin ” TDR Nova” which can be used to clean up the resonant frequencies.
However, it’s not as feature-rich as other paid dynamic equalizers but if you can’t afford paid plugins then it would be a great alternative.
FAQs About EQ Sweeping
How can I get rid of resonant frequencies in my audio mix?
Use a parametric equalizer to identify and isolate the offending frequencies, then reduce or eliminate them.
Use a notch filter to identify and remove the problem frequencies.
Use a combination of these methods to achieve the best results.
How can I use parametric EQ and notch filter to remove resonant frequencies in my audio mix?
To use a parametric equalizer:
1. Find the offending frequency using a spectrum analyzer.
2. Boost the EQ at that frequency until you hear the resonance, then back it off a bit.
3. Cut the EQ at that frequency until the resonance is gone.
4. Make small adjustments to the EQ as needed to fine-tune the sound.
To use a notch filter:
1. Find the offending frequency using a spectrum analyzer.
2. Set the notch filter to that frequency.
3. Adjust the Q (resonance) until you hear the resonance, then back it off a bit.
4. Make small adjustments to the EQ as needed to fine-tune the sound.
To use a combination of these methods:
1. Find the offending frequency using a spectrum analyzer.
2. Use a parametric equalizer to boost the EQ at that frequency until you hear the resonance, then back it off a bit.
3. Use a notch filter to cut the EQ at that frequency until the resonance is gone.
4. Make small adjustments to the EQ as needed to fine-tune the sound.
At The End
Cleaning out the annoying frequencies is a good practice to use this strategy if you want some great-sounding music.
Also, drop your comment below if you have some other EQ techniques. Your precious comments can help other readers in polishing their mixing.
Share this article with other music producers in your social circle.
This article could help them if they are facing annoying frequencies in their track.


I’ve been trying to figure this stuff out for years, and thanks to this article it finally clicked. Good lord my music sounds better now. Thanks!